Not Soft Kitty, Warm Kitty… not Here Kitty, Kitty… just plain old Kitty Corner. That’s our block this time. You should breeze through this uncomplicated, delightful and often overlooked quilt block with ease.
KITTY CORNER QUILT BLOCK
Finished Size 12″ (Unfinished 12-1/2″)
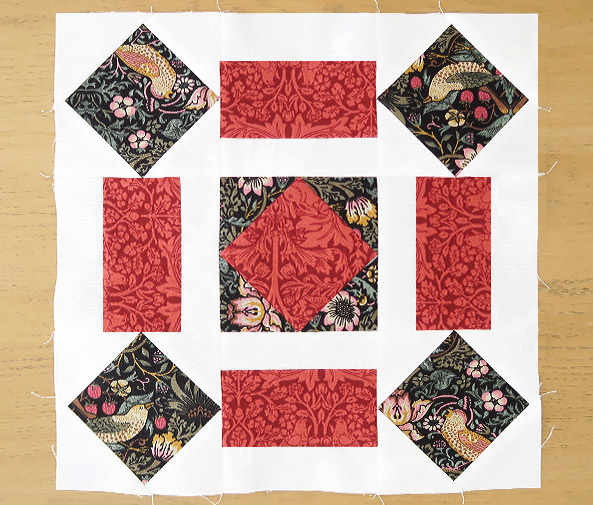
Kitty Corner quilt block is a nine-patch block featuring on point ‘square in a square’ units. It’s a super easy block but still has great merit and should be used more often.
CUTTING
This nine-patch block is made out of two colours and the background fabric.
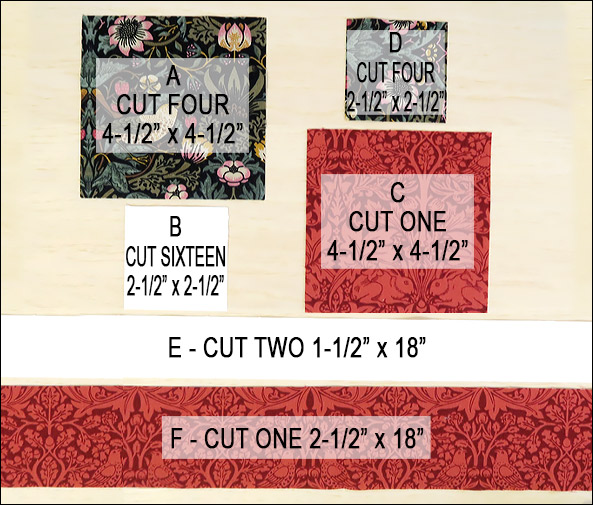
A. Four 4-1/2″ x 4-1/2″ squares (black)
B. Sixteen 2-1/2″ x 2-1/2″ squares (white)
C. One 4-1/2″ x 4-1/2″ square (red)
D. Four 2-1/2″ x 2-1/2″ squares (black)
E. Two 1-1/2″ x 18″ strips (white)
F. One 2-1/2″ x 18″ strip (red)
The background fabrics for this block are B & E.
BLOCK ASSEMBLY:
- All seams are 1/4″ and I use a stitch length of 1.8.
- As a rule, you would press your fabric seams towards the dark side (darker fabric) but not always. I finger press my seams before pressing with an iron. This allows me to change the seams’ direction if needed without stretching my fabrics.
- In bulky areas press your seams open as this will help reduce thickness.
We are going to begin with our corner units by using the ‘stitch and flip’ method to make the on point ‘square in a square’ units.

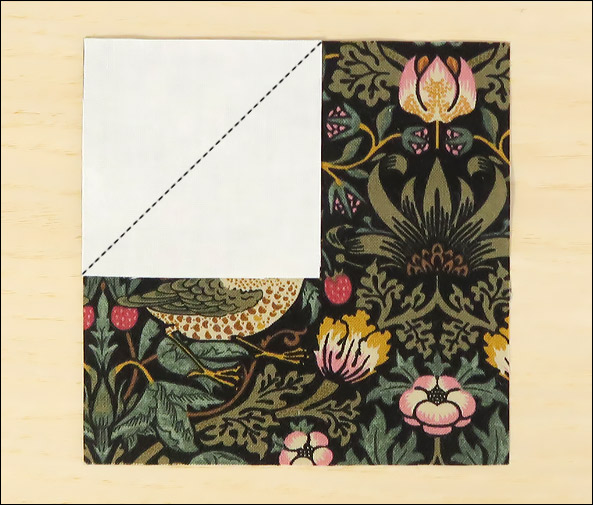
Take one of your 4-1/2″ x 4-1/2″ black square A and four 2-1/2″ x 2-1/2″ white squares B. Now draw a diagonal line on the wrong side of your white squares.
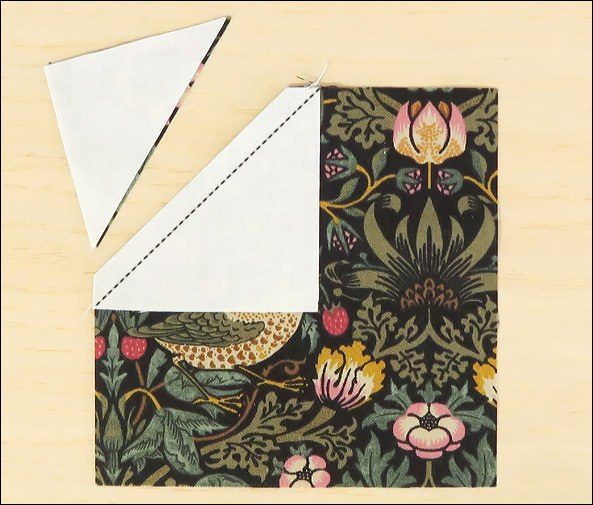
Take one white square and place it right sides together (RST) on top of the black square in the top left-hand corner. Align the edges and sew on top of your diagonal line then trim away the excess fabric leaving a 1/4″ seam. Then open out your fabric and finger press your seam open, being careful not to stretch your fabric, then fix with an iron.

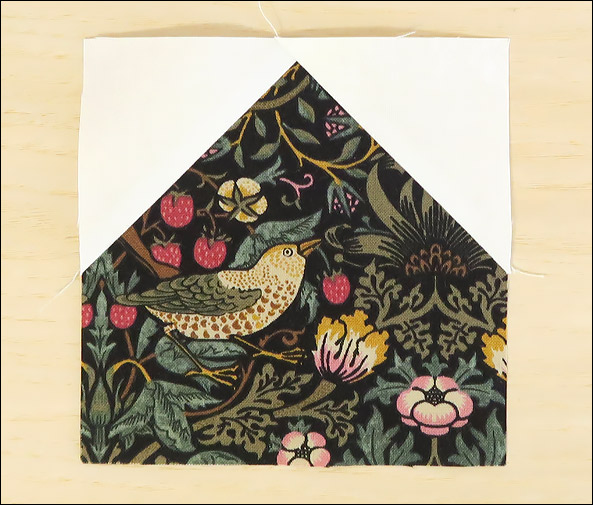
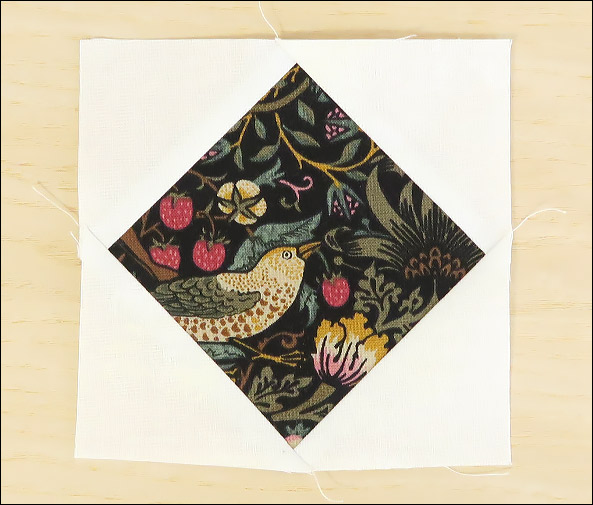
Now repeat this process with your second white square, trimming away the excess fabric and finger pressing your seam open before fixing with the iron. Repeat until you have four white corners.
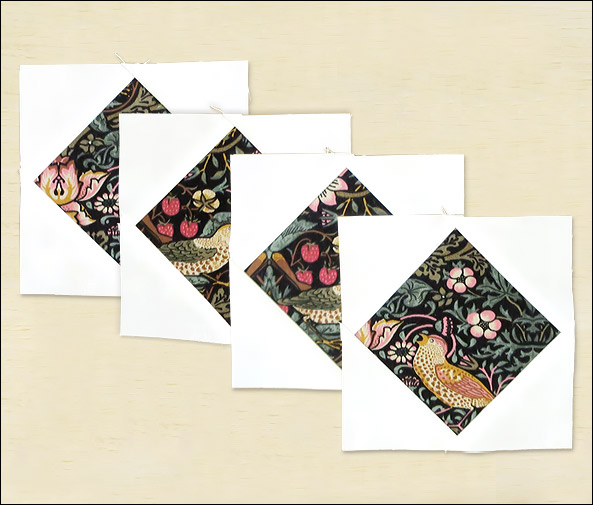
Make three more.
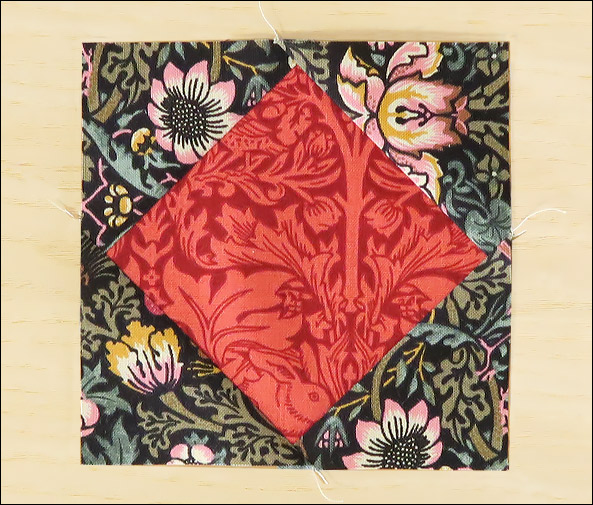
Finally repeat the process for the central unit with your 4-1/2″ x 4-1/2″ red square C and your four 2-1/2″ x 2-1/2″ black squares D.
Next are the four outside central units. We are going to make these using ‘strip sets’.
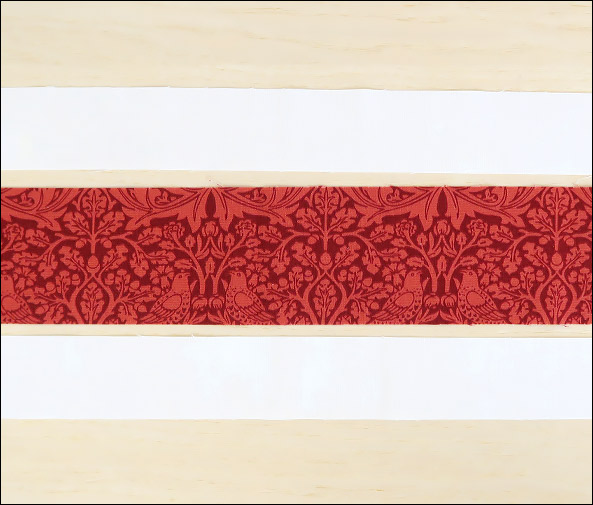
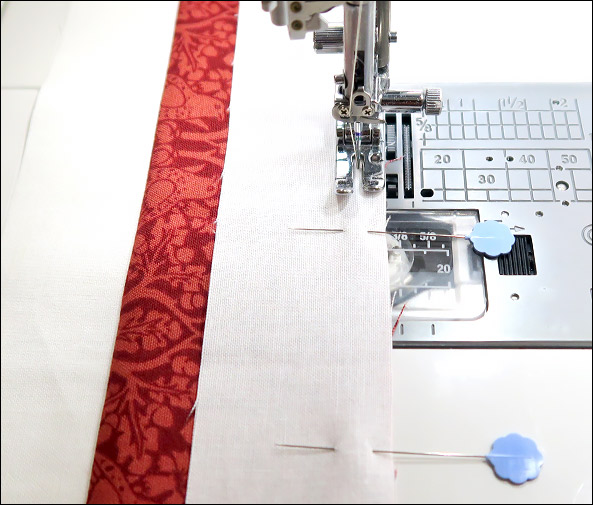
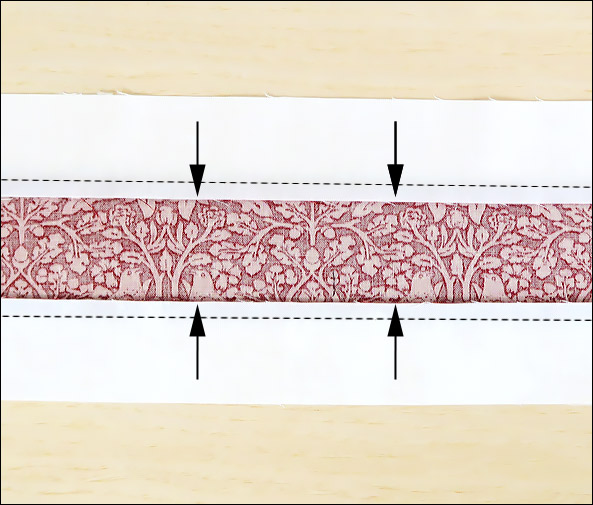
Take your fabric strips E and F and sew them together with the red 2-1/2″ strip in the middle.
Use pins to stop your fabrics from traveling and to keep your edges aligned and straight. This will help keep your finished unit square.
Now finger press all your seams towards the darker, central fabric before fixing with your iron.

Cut your unit across the rows into four 4-1/2″ x 4-1/2″ squares.
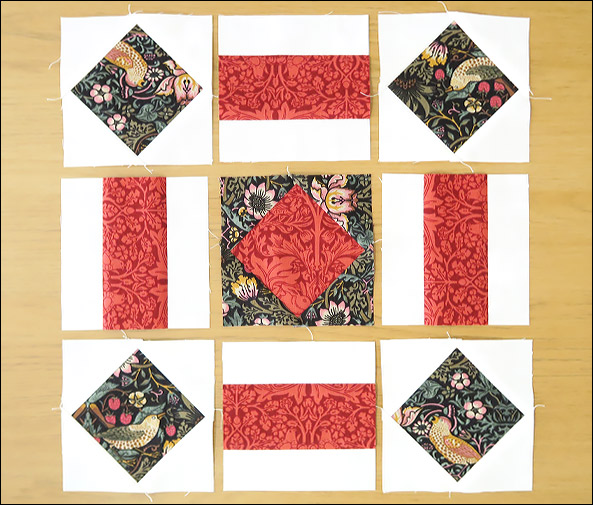

Now lay out all your units to form the Kitty Corner quilt block.
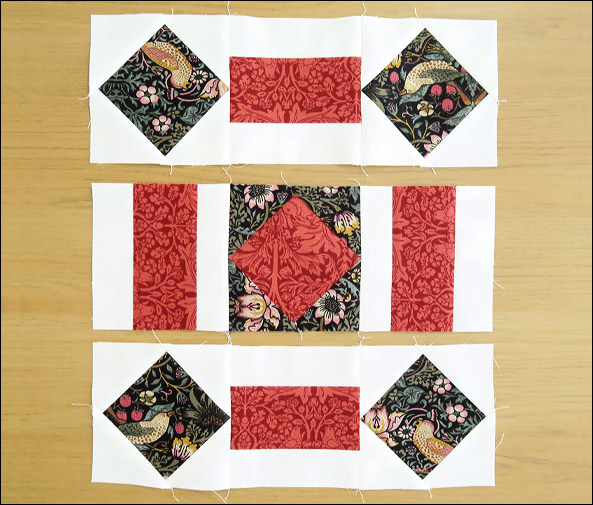
Sew your rows together one row at a time, being careful to intersect with your sewn points as you go (see left image). Finger press your seams open before fixing with an iron.
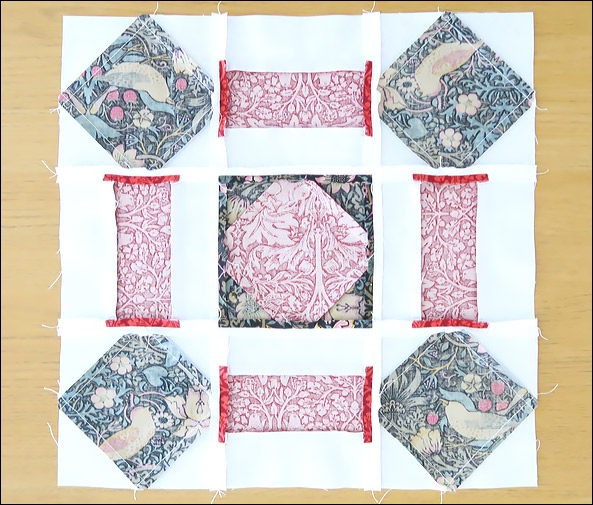
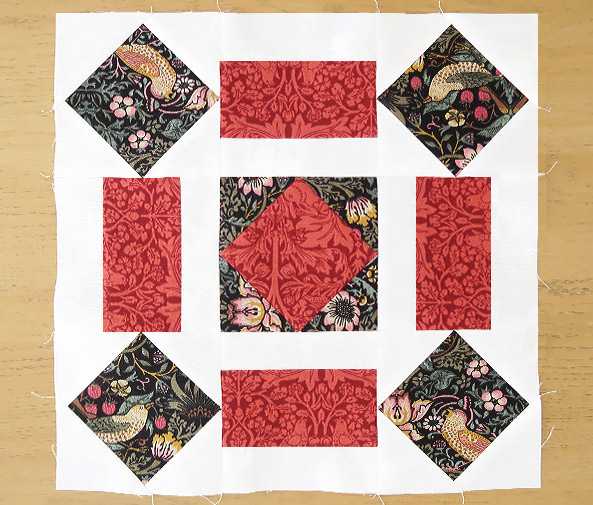
Finally, sew your completed rows together, pressing your seams open. Don’t forget to match your points as you go.
If you have sewn your block together accurately it should measure 12-1/2″ square but if you need to trim it make sure you leave 1/4″ seam allowance on all your points.
Eight blocks and all’s well!


